While I was in Wyoming I started thinking about our upcoming homeschool adventure and I started to think that we needed to have a school room. I called Michael and we talked about it. At first I wanted to completely redo the playroom upstairs into a school room, but when talking with Michael we decided that that would be a bad idea since I'd spend all my time going up and down stairs since the kitchen and the laundry room are on the first floor.
One night at Auntie Linda's house I laid awake in bed researching all different kinds of desks for the kids. I found this fold down version that attaches to the wall and I thought that would be nice. I liked that it would give the kids each their own place to work and store their PACEs as well having a way to put school away at the end of the day. I explained it to the kids by using Ga-Ga as an example. She had a work office at home when she was telecommuting. Once her day was done she walked out of that room and shut the door. Work was over! I wanted the kids to have a way to close up school and walk away knowing that school was over for the day.
When we got home from Wyoming, I showed Michael the ideas I found on Pinterest and he decided to add his own flare to them. At the end of July we headed out for our first date night since Covid started....yeah for having older kids. We ate at Circo Circo...our favorite Mexican place...we were the only ones actually eating in the restaurant. After that we went to Lowe's to pick out all the lumber and hardware we needed to build the desks.
At first I had been thinking about doing individual desks for all the kids, but with limited space it just made sense to make 2 decks in one unit. We were considering moving our IKEA cabinet in the office and putting them there, but the wall space wasn't really big enough. In the end we decided to put the kids desks in the dining room which really is the heart of our home and made the most sense. The funny thing was just a couple months before I was seriously trying to talk Michael into taking out one of our dining room walls in order to make the kitchen more open to the dining room. Michael did not want to do that right now or at all really and eventually I came around to feel the same way. Then about a month later we decided the perfect place to put one of the desk units was on this particular wall in our dining room I previously wanted to remove. Crazy how things work out sometimes!

At first I wanted to build these desks with Michael, but he definitely has more flare in his construction. When I build things I build them with square corners and edges...just basic construction! Since there were going to be in our dining room Michael wanted them to look really nice. He bought a router and a router table in order to give the edges a little pizazz.
He also wanted the desk to be wider at the bottom and slightly slope towards the top instead of being fully square. The picture above shows this...it's only an inch difference and the desk is actually upside down so it's wider at the top and skinnier at the bottom.
To attach the desks to the wall he used a French cleat system. He found the studs and anchored in a piece of wood. The piece of wood was also cut at an angle. On the back of the desk he attached another piece of wood the same length and cut at an angle so when the desk was attached it would fit right into the piece on the wall.
This was the wall I was considering taking out to open up our kitchen to the dining room.
First desk mounted on the wall.
We moved the recliner in the dining room last Christmas to make room for the Christmas tree. I ended up liking the chair in here a lot. Because of the desks the recliner had to be moved to the other side of the dining room, but it still fits!
We looked into lots of different ways to hold the desktop up once it was folded out from the main desk...chains, hinges...etc, but Michael didn't like any of them. He decided he wanted them to be very sturdy so he made these legs that fold out from the wall.
He used simple door hinges to achieve this. He did have some trouble with them....finding a stud or securing them with molly bolts. You can see the nice edging that his router made possible. It was definitely a learning curve and there were many pieces that were practiced on prior to using them on these pieces.
Here they both are folded out!
Here's the view of the dining room from our entryway.
Next up was the desktops. At first we bought two of these project pieces from Lowe's. Michael cut one and then went to cut the other one, but he accidentally didn't realize that the tape measure was upside-down when he was measuring so the measurements were off and it got cut too short. I went back and got another piece and Michael measured a bunch of times and cut it correctly this time. He used that new piece to attach to the desk. Then he went to use the very first piece he cut and come to find out it was a warped piece of wood. So back to the hardware store I went. We only needed 2 long pieces, but we ended up buying 4.
Once desktop attached!
He used the same simple door hinges to attach the desktop to the wall unit.
This leg was the one that gave Michael the most trouble. In fact a couple days after school started he had to add in extra support in the form of cutting out a piece of the drywall, placing the board behind the drywall so the leg would actually have something to bite into while attaching it to the wall.
My hardworking man!
Those little black plates that are on the ends of the desktop are actually strips for the magnets to attach to. I got the magnets off Amazon and they are pretty heavy duty.
In order to prevent the legs from moving out from under the desk we got these simple latches that are able to lock into the desktop.
Michael had these tee nuts that he hammered into the desktop after he ground them down inside so the latch would fit inside them. We wanted something sturdy to have the latch go into so the kids wouldn't end up damaging the wood from overuse.
Here are both of the desks looking toward the entryway.
He was going to make both desks the exact same length, but in the end one desk ended up being a tiny bit shorter than the other one...far left one. That really came in handy since the area on the left was smaller so the desk needed to be smaller for that space. You can see the light switch plate...the desk is right up next to it so it couldn't have been any bigger.
Here's the opposite angle. In this picture you can see that our dining room only has the one main light above the table. During the day it's plenty bright if you are using it as a dining room, but to sit at these desks on the perimeter of the room I thought would be a bit dark. I would eventually like their to be can lights up in the ceiling, but I knew that would be too much to ask Michael to get done with in a short period of time.
I went on Amazon, but wasn't able to find any lights that I liked. So I went on Walmart's website and found these basic lights for only $7 each. They were just a tiny bit too big to fit in the deck. At first Michael actually cut the base off a little and it fit in there, but it didn't really look that nice. That's when Michael got an idea.
He decided to remove the base from the lamp and build them into the decks. Even the switch to turn them on. He's just so talented!
Look at how awesome that is!!!
The lights are super easy to move and they are LED so they don't get hot and they'll last forever.
Since I went to an ACE school from 1st - 12th grade I know how an ACE Learning Center should look. I also know how kids are and how they can act. I know they need privacy and a space that should feel like their own. I wanted what we called at my school....sideboards. They were removable boards that gave you that privacy that you needed in order to concentrate. Michael thought these were silly since the ACE school he grew up in didn't use them. He also thought the desks were kind of silly since he was used to just working at a table with a bunch of other kids and not having is own private desk. I told him that he didn't really go to an ACE school then!!! ;)

I persisted and he make sideboards. We decided to attached them with the same magnets I got on Amazon. The funny thing is we ended up ordering 3 sets of these magnets, but all separately. The first time ordered just one set to see if they worked. Then the next time I ordered another set thinking we'd only need two magnets for each of the sideboards, but then we realized we wanted it to be super secure so I ordered another set. Good grief!
One night Michael was done working, but I wasn't so I decided to stain all the desk pieces.
I used Minwax Special Walnut. Michael and I both just love a good dark wood. Ella said she liked the color better lighter though.
Michael dealt with Polyurethaning. He wasn't really happy with how the finish turned out since it was bumpy. He did some research and I picked up these buffing pads from Lowe's. He used them with his electric sander and oh my goodness a world of difference. The desks feel like butter now! So smooth!!!
They look so nice on the wall. For some reason our floor is showing more red in these pictures...it's actually a dark brown color with a little bit of red undertones.
Because Michael built in the lamps he had to make these notches in the legs so they would be able to clear the cords.
Here's what it looks like underneath! We got these cord cover things to help direct the cords where we wanted them to go. Because Michael built the back part of the deck inset he was able to tuck the cords behind the desk in that small amount of space that was left back there.
Here's how the cords look plugged in. I love how nice and tidy everything is!
The stain didn't take the same to the sideboards since it's not the same kind of wood, but they still look nice.
Those lamps light up their desks so nicely!
I wanted the back of the kids' desks to be a bulletin board. I ordered these 12" x 12" tiles from Amazon. They come with these stickers to attached them. I wasn't super happy with the patchwork quality, but I figured that I could cover that up with a craft project.
I went through my paper stash and let the kids pick out what they wanted for the back of their desk.
When Ella, Ga-Ga & I went to Walmart for school shopping I bought each of the kids their own wire book box to hold their PACEs. I also bought them these little buckets to hold their pens.
I think Owen's desk looks so manly!
He said this was how he was really going to look at school! LOL!!!
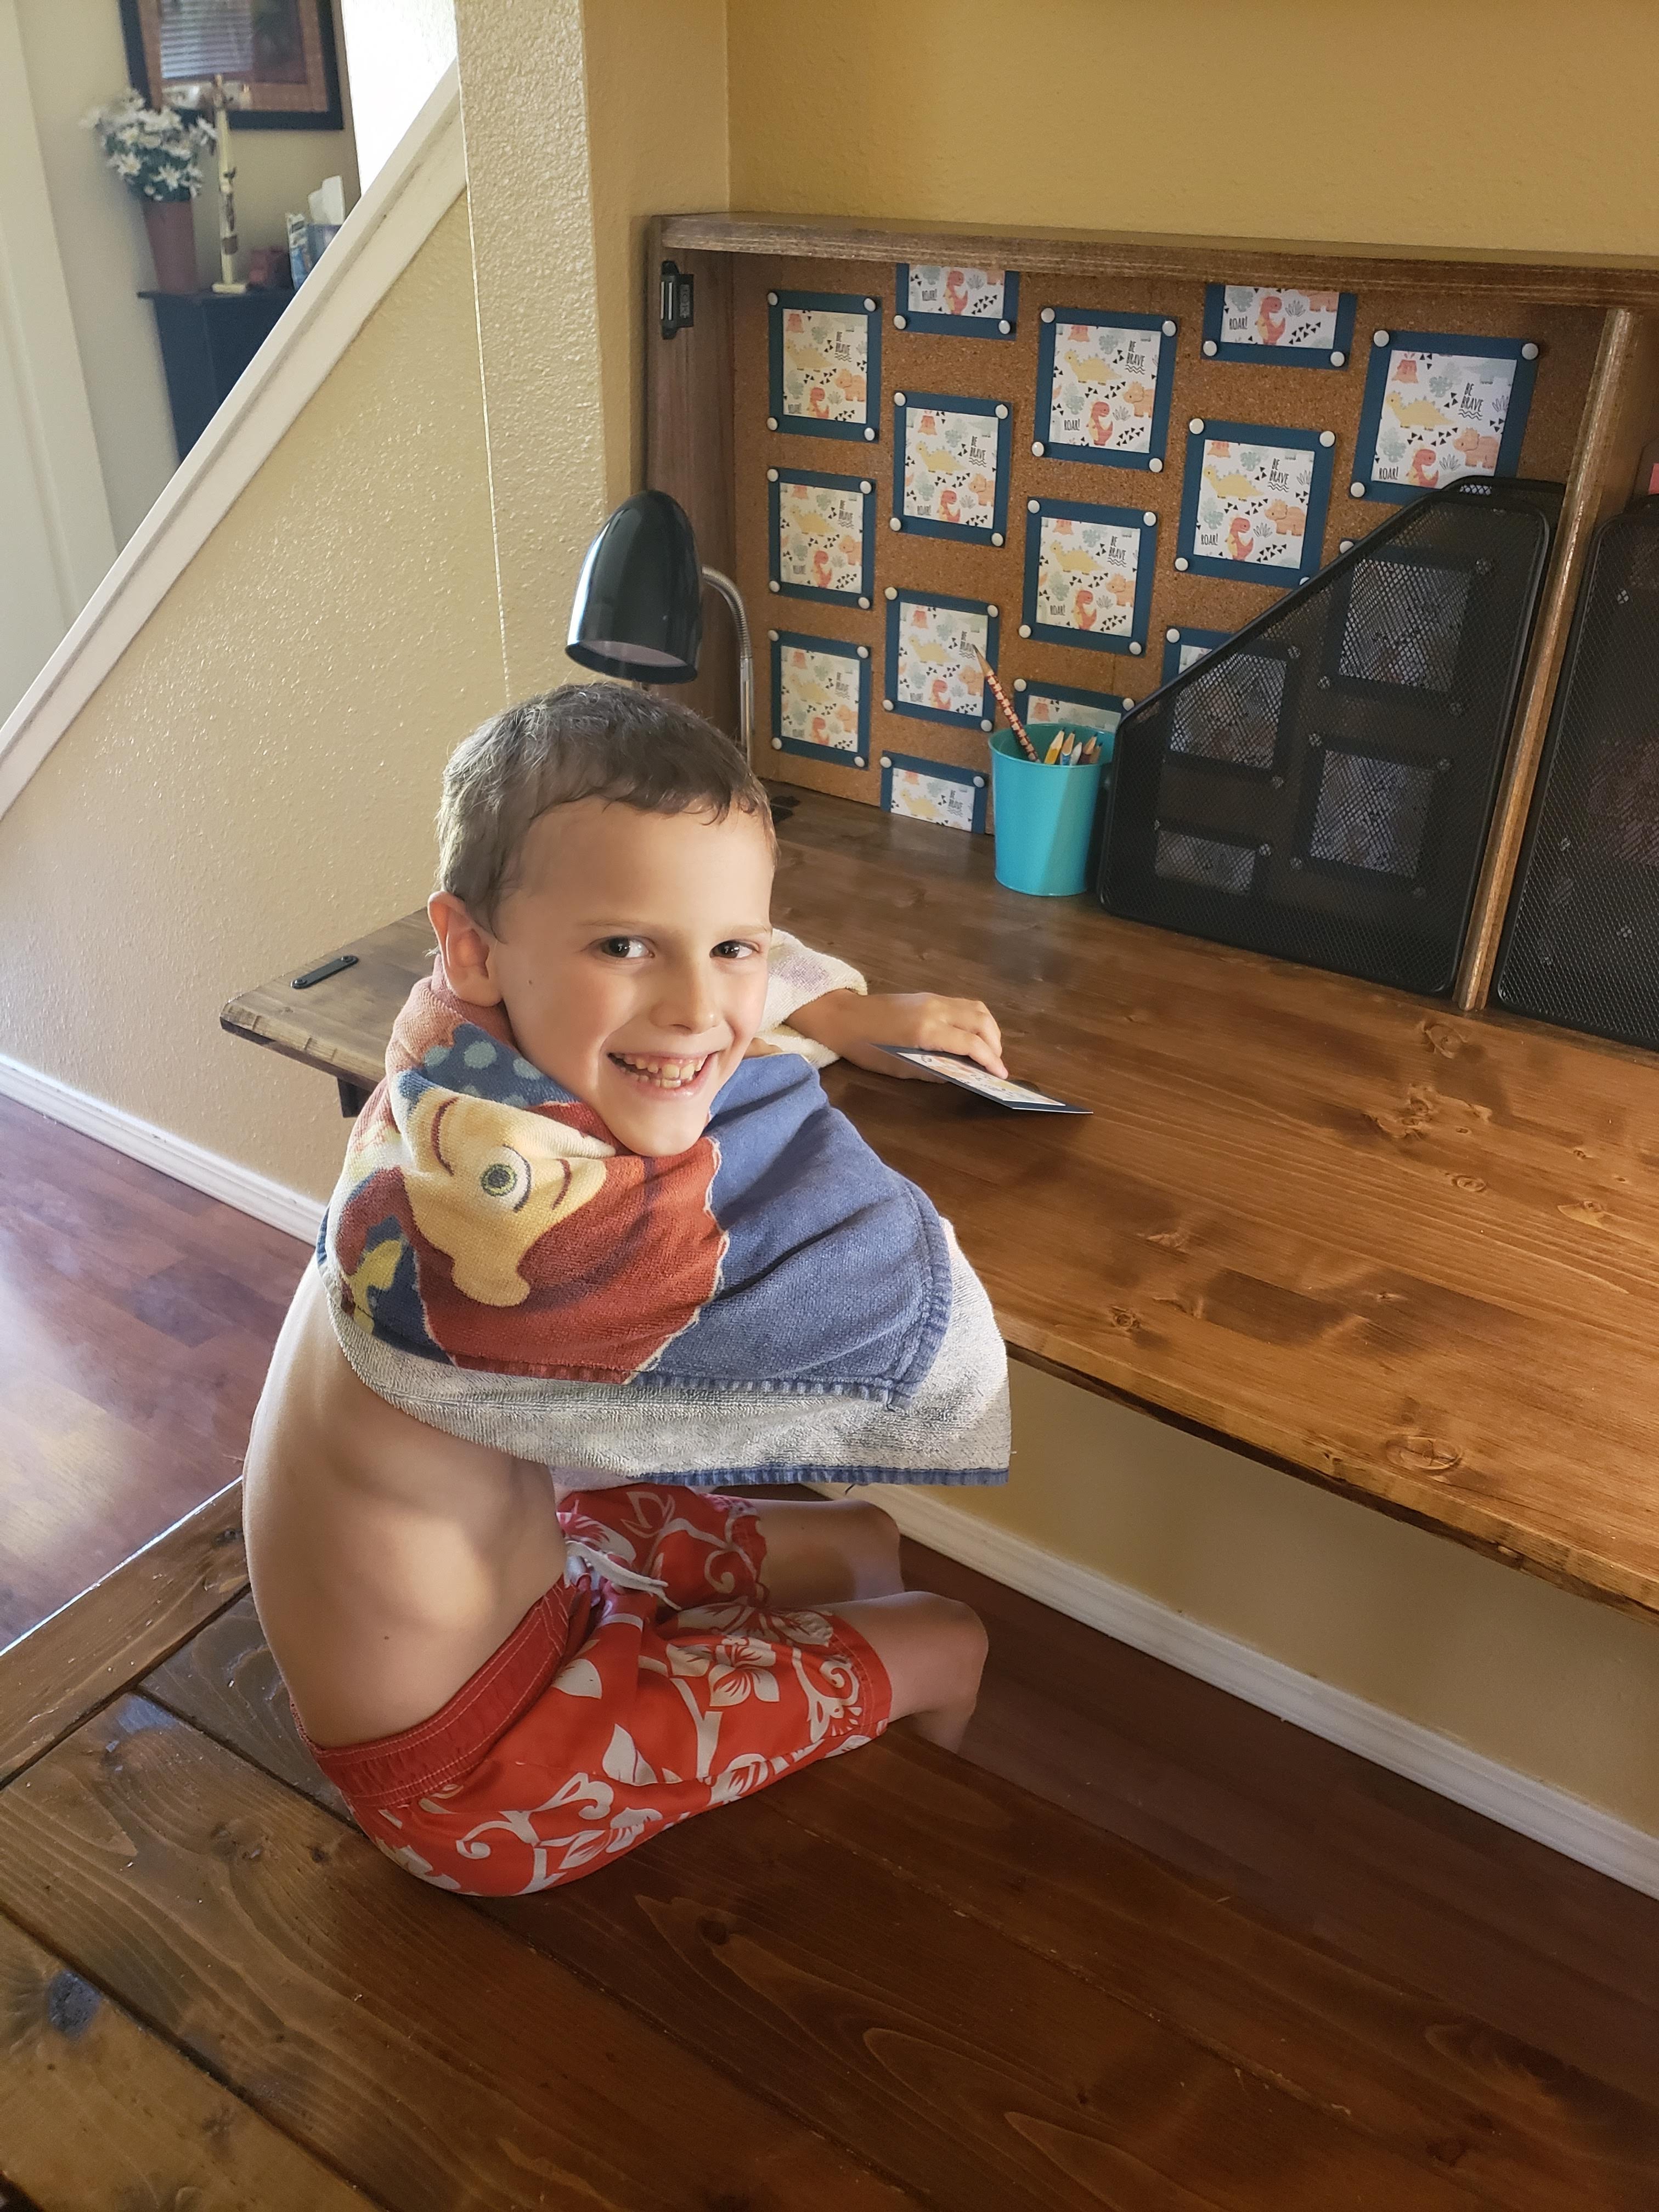
Zeke couldn't find any paper he liked so he found this dinosaur paper online and we printed it out.
Since there wasn't enough paper to cover the back I added the blue and then did this design. Love how his paper says to Be Brave!
Jackson picked out Gryffindor paper for his desk!
Since the symbol had diamonds I decided to do a diamond design with the brown paper. It was fun being crafty!
Here's what the desks look like all closed up and ready to go!
As for chairs I could have had the kids just use the benches that are at the dining room table, but I really wanted them to have back support. I looked on Amazon and there were loads of cute chairs, but they were all pretty spending or they would have been bulky. IKEA for the win! I found these chairs for $12.50 each! They are super light, easy to move and they stack.
After school is done for the day the kids put up their desks up and stack their chairs. You can see that the sideboards get stored off to the left in this corner. It's really been such a nice system. Our house is a Learning Center for part of the day and then it's a home.


